How to Create a Custom Color Palette in Procreate
One of my favorite features in Procreate is the ability to create your own custom color palette. Not only does this save you so much time when adding color to your work, but your drawings will be much more cohesive with a consistent color palette.
I have a couple sources that I love to use for color palette inspiration. I love to look at both of these sites to find images that catch my attention and that attract me to their colors:
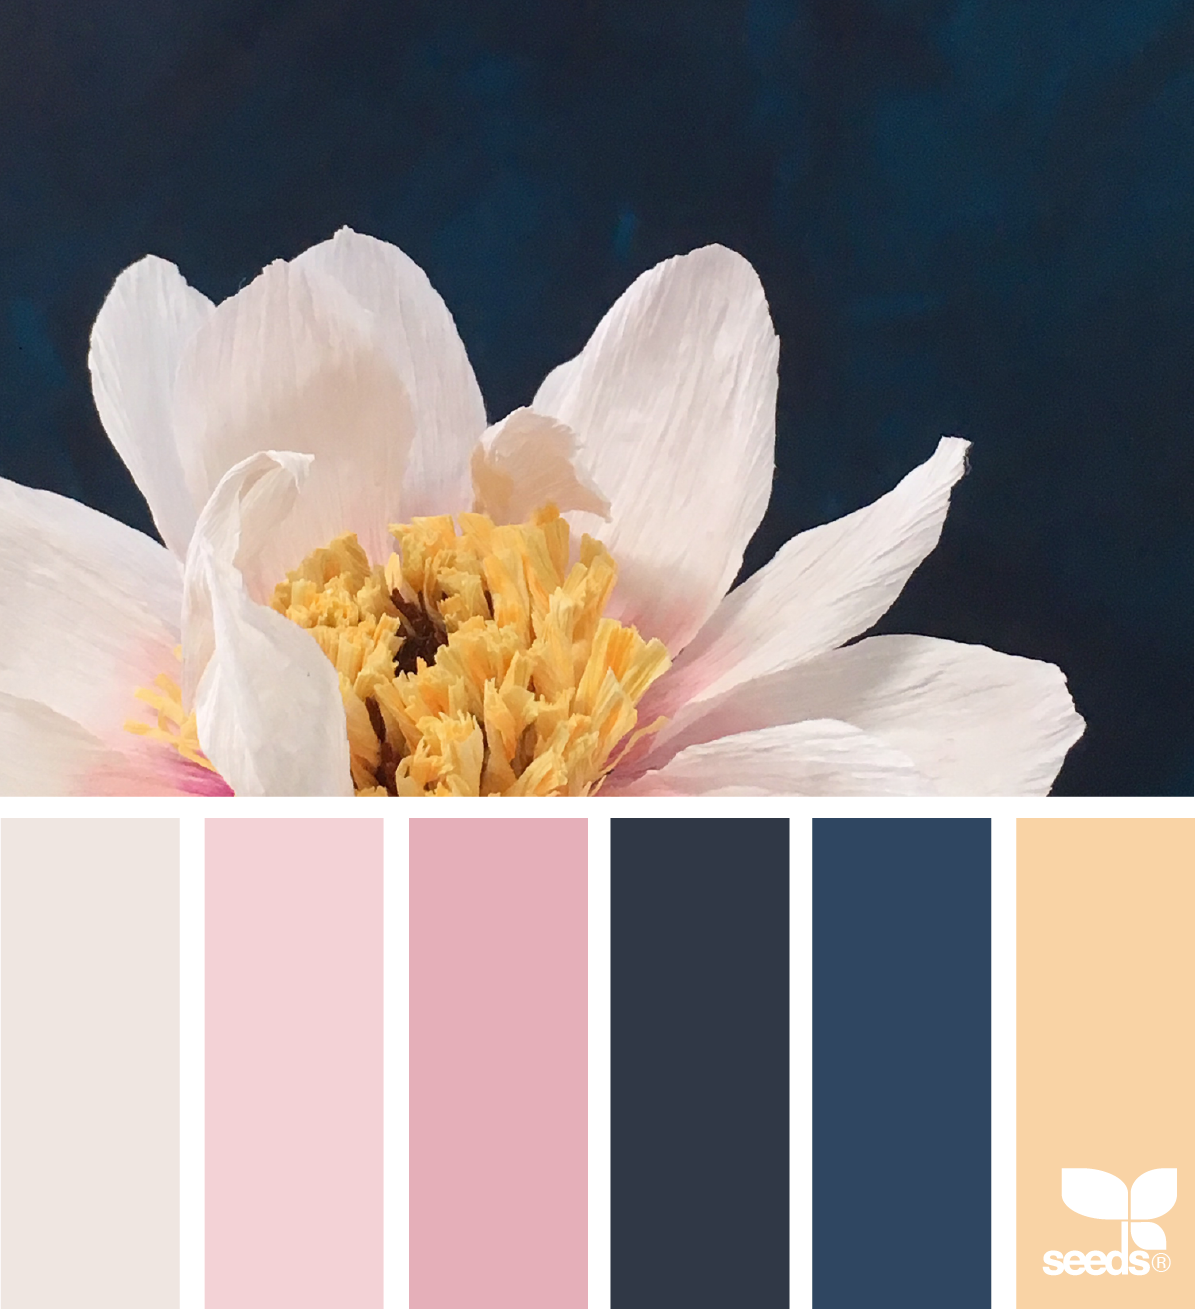
I love using Design Seeds because they have pre-made color palettes that makes it easy to pick your colors from. So pretty & easy!
Once you find an image with beautiful colors that you love, follow these simple steps to create your own color palette:
Take a screenshot and save it to your photos.
Insert that photo into your canvas (top left menu wrench icon > add > insert a photo)
With your finger, tap and hold down anywhere on the photo until you see the eye-dropper tool appear beside your finger. Then, drag your finger around the image until you find a color that is pleasing to you.
Once you land on a color you love, you’ll see that color appear in the color indicator in the upper right corner.
Open the color panel and click on the palettes tab. Tap the + icon in the upper right corner to create a new palette.
Choose a name for your color palette.
When you select a color you like from your photo using the eye-dropper feature, then go to your palette and tap an empty square. Ta-da! That color will be added to your color palette. Repeat this process until you have the colors you’d like to complete your palette.
I hope this is helpful! Be sure to follow along on Instagram to share your progress with me. Happy creating!
xo,
Caitlin